How to Create an Easter Pop Up Card
Last updated: April 8th, 2025 Published on: April 2, 2020Looking for something to do over the weekend with your kids? Why not try to create some fun DIY Easter pop up cards? We’ve put together a few of our favourite Easter pop up card design ideas so whether you’re crafting with kids or for friends and family, our easy step-by-step guide will help you create a wonderful 3D masterpiece. Grab your glue, scissors, a sprinkle of imagination – and get crafting!
1. Easy Pop Up Egg Card
For this first pop-up card, we followed a tutorial by Kitiya Palaskas, a craft designer and workshop teacher from Melbourne. This simple step-by-step guide makes it easy to create a magical and eye-catching 3D Easter card!
Materials You’ll Need:
- Egg-shaped cut out template
- Pencil
- Scissors
- Coloured pens
- Scalpel
- A4 pink paper
Method:
Step 1: Cut out an Easter Egg shape template and fold it in half horizontally.
Step 2: Fold an A4 pink sheet of paper in half to make an A5-sized card. Then, fold it in half again. Next, place the egg cutout along the fold on the outside of the card.
Step 3: With a pencil, trace the egg shape template around the pink card. Mark a 2cm tab on the top and bottom of the egg you’ve just drawn.
Step 4: Using a scalpel cut along the rest of the egg, leaving the tabs secure.
Step 5: Flip the card over and fold the card, whilst folding the egg inwards.
Step 6: Take your favourite coloured pens and decorate the egg however you choose. You could also use coloured tape or glitter.
Step 7: Next, you need to glue the back of the card (just make sure you avoid the pop-up egg design you made).
Step 8: Stick another A5 sheet to the back of your card to make it stronger.
Step 9: Now you can fold your card in on itself once more and see the egg pop up!
Step 10: Finish up by decorating the inside and outside of your card! Happy Easter!
2. Cute Easter Chick Pop Up Card
For this adorable pop up chick card design, we’re taking inspiration from Maggy Woodley’s tutorial. It’s super easy and colourful – ideal for spring! Just follow the steps in the tutorial video below to make it with the kids.
Materials You’ll Need:
- Yellow A4 sheet of paper
- Black sharpie pen
- Scissors
- Orange and green post-it notes
- Glue stick
- Blue A4 sheet of paper
Method:
Step 1: Fold your blue A4 paper sheet in half.
Step 2: Cut a few green post-it notes in a zigzag, and glue them horizontally at the bottom of your card to create grass.
Step 3: In a yellow A4 sheet of paper, cut at least 6 circles (8cm diameter) to create the body of the chicken.
Step 4: Hold all the yellow circles together in a pile and fold them in their middle.
Step 5: Take the first circle and glue half of its side to the card, in the fold of the card. Glue the other half of the circle to a second circle.
Step 6: Glue all circles to one another on their side.
Step 7: In an orange piece of paper, cut a small triangle to create a beak, and glue it in between the most central half circles.
Step 8: On each side of the half circles, draw a black dot for the eyes of the chicken.
Step 9: On a yellow sheet of paper draw the chicken wings and then cut them.
Step 10: Glue the two wings on the side of the chicken’s body.
Step 11: Draw some legs with a sharpie pen on the card to create the chicken legs.
Step 12: Draw two small hearts on orange post-it notes, and cut them out.
Step 13: Use the hearts as chicken feet and glue them on the card.
Step 14: Take your coloured pens and write the message you want for Easter, like “happy Easter” here, and draw some hearts around the card to fill it up nicely.
Et voilà, le tour est joué! You’ve just made an Easter chick pop up card!
3. Cracked Egg Opening Card
How about a kid-friendly Easter pop up card? Artists Resource has released this cracked egg-opening tutorial, and it is truly adorable. As you open the card, the egg unfolds, and a little chicken appears at the back like magic! We suggest you make a speech bubble on the right-hand side of the chicken and write “Happy Easter” to add a cheerful Easter message 😉.
Materials You’ll Need:
- Scalpel
- Scissors
- Black marker
- Pencil
- Ruler
- Six different coloured sheets of paper
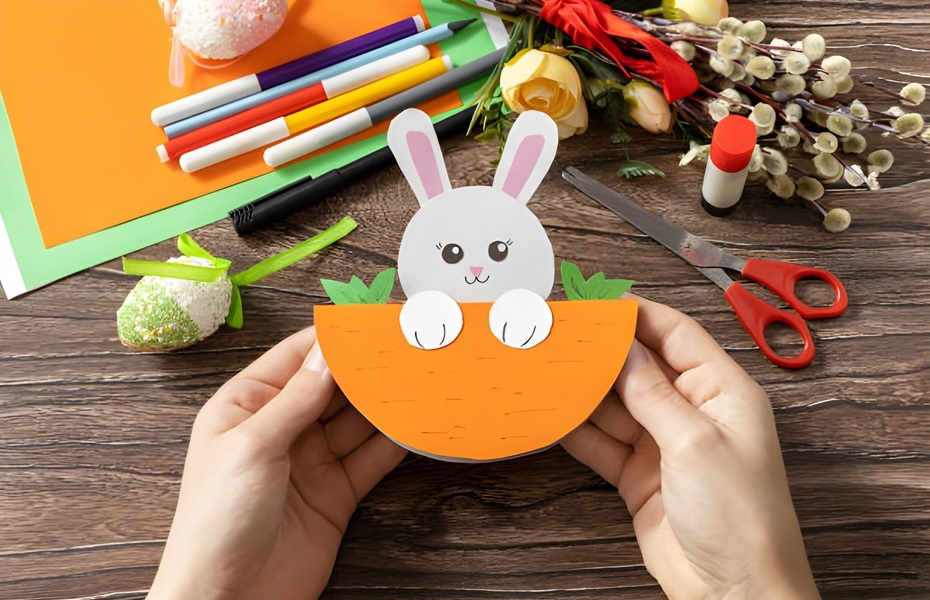
4. Bunny Pop Up Card
Another cute pop up Easter card design we’ve found is made by Natalia’s Toolbox. This full-size bunny face card is super innovative! When you pull the bunny’s teeth down, its ears rise up at the same time!
Materials You’ll Need:
- Green, grey and white paper sheets
- Glue
- Scissors
- Pencil
- Ruler
- Coloured pens
This design is slightly more complex, but still easy to follow once you get the hang of it. Follow Natalia’s YouTube video below to see how you can make your own.
5. Kirigami Bunny Rabbit Card
Kirigami is a form of paper art originating from the words “kiri” which means “cut” and “kami” which is “paper” in Japanese. So, as the name suggests, it doesn’t require any glue – just a good scalpel! We have found a great video tutorial which will require a bit of dexterity, but the result looks gorgeous if you have the time to create it 😉.
We wish you a fun and creative DIY Easter experience!
If looking for something simpler, check out our personalised and photo Easter cards, where you can easily add your own pictures and text online!